
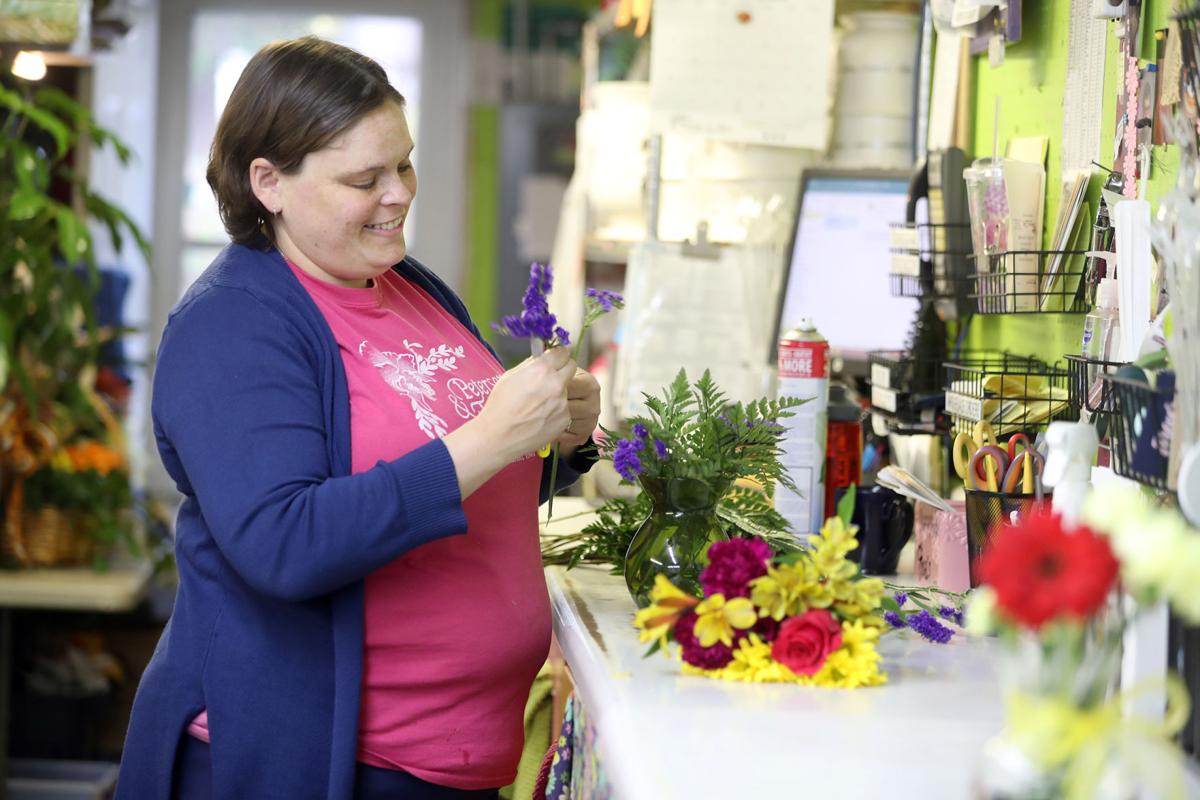
Gina Whipple builds a bouquet at Petersen & Tietz florists in Waterloo, Iowa, Wednesday, Oct. 14, 2020.
WATERLOO – Smiles will be in full bloom Wednesday when Petersen & Tietz Florists and Greenhouses spreads joy with fresh flowers during Petal It Forward, a nationwide flower-power event in partnership with the Society of American Florists
Petersen & Tietz will hand out 600 free bouquets from 11 a.m. to 1 p.m. at their shop, 2275 Independence Ave. In previous years, the florist staff has handed out bouquets as random-acts-of-kindness to people on the street and in businesses and offices in Waterloo and Cedar Falls.
“Our first thought was ‘how do we Petal It Forward in a COVID-19 safe environment?’ We decided to invite people to come out and see us and pick up a bouquet. We’ll have safe practices in place, maybe outside, weather permitting. But we’re ‘petaling’ it forward – pick up a bouquet to brighten your day,” said Heidi Tietz de Silva of Petersen & Tietz, a third generation family-owned and operated business established in 1934.
The timing couldn’t be better. The Kaiser Family Foundation’s tracking poll in July showed that 53 percent of American adults believe that the pandemic is taking toll on their mental and emotional health.
“That makes it more important than ever for us to ‘Petal It Forward.’ We didn’t feel it was appropriate for us to go out in public and hand out bouquets. People are reluctant to be approached, to have that social interaction, and we want to keep the public and our staff safe,” De Silva said.
Petersen & Tietz has participated in the national effort for the past two years. Traditionally, two bouquets are handed out — one for a random recipient and a second for that person to give to someone else. This year, Petersen & Tietz is identifying everyday heroes and frontline workers – health care professionals, police offices, teachers, as well as organizations and groups whose community service “needs to be recognized. They’ll get a bouquet with a thank-you card, just to tell these people that we appreciate them and thank them for their service,” De Silva said.
Flowers make people happy. “Studies show that flowers reduce stress and anxiety for the recipient, but what surprises me is how the person receiving flowers perceives the sender as being more in touch, empathetic and thoughtful. They think the sender ‘knows me, you remembered, you thought of me,” she explained
Giving is as good as receiving, too. An SAF survey shows that 88 % of Americans say giving flowers makes them happy, while 80% reported that receiving flowers makes them happy. Senior citizens, too, show a “significant increase in happiness and positive moods, perform higher on memory tasks and experience enriched personal memories.” Flowers at home or in the office improves mood, said 76% of Americans, and the best reason to receive flowers is “just because.”
De Silva experienced those happy reactions in the midst of last year’s Petal It Forward, when a bouquet recipient hugged and thanked the florists handing out flowers. “We didn’t know the back story, but she wasn’t having a good day. Then she got that bouquet and it made her teary-eyed. She turned around and made our day,” she said.
Petersen & Tietz also will partner with the Northeast Iowa Food Bank to conduct a food drive during Petal it Forward. In addition, the public can participate by voting on a group they would like to receive flowers once a month for a year to show appreciation.
Fall felt garland

Fall felt garland
These instructions are for making a garland measuring 5 feet long.
Here’s what you’ll need:
-- 9- by 12-inch felt sheets in assorted fall colors (I used roughly 10 sheets of each of 4 colors for this garland. The number of sheets you will need depends on how long you want your garland.)
-- ¾-inch wide strong ribbon
-- Hot glue gun and glue
-- Scissors
Instructions:
Step 1. Cut each felt sheet in half along long side. Then cut each half into 4 equal parts (making 8 pieces from each full sheet)
Step 2. Cut each smaller piece into a simple leaf shape (See shapes below).
Step 3. Add roughly 1 inch of hot glue to center of leaf at the base end and pinch base corners together and hold for a couple seconds.
Step 4. Complete for all smaller cut pieces.
Step 5. Cut ribbon to desired length of garland
Step 6. Hot glue leaves to ribbon alternating back forth on opposite sides of the ribbon randomly using each color of leaf.
Step 7. Continue this process until the ribbon is full of leaves
Step 8 8. Adorn your favorite fall display!
Birch wood Christmas tree

Birch wood rounds provide multiple ways to adorn a Christmas tree with personal and colorful tree ornaments and create framed art, natural gift tags, a set of holiday drink coasters pr an advent calendar. Whatever the project, it can be done by anyone regardless of age or crafting experience.
Birch Wood Christmas Tree Framed Art
1. Purchase wood slices or have someone cut them from downed branches in the yard. (If you cut them yourself, be sure to let them sit out and dry out for a number of weeks.) The ones used in this project were 2.8 to 3.5 inches.
2. Paint each round however you would like. You can make them colorful or neutral. The number you paint depends on the size you would like your final piece of art – large or small.
3. While the rounds are drying, paint a piece of plywood to serve as backing. The size featured here is roughly 24- by 30- inches and is painted in Chalk Paint by Annie Sloan Pure White.
4. The frame is made from cheap furring strips stained using Chalk Paint “Dark Wax.” Once the back is dry, attach the frame pieces using 1-inch brad nails and a nailer. You could also use a hammer and brad nail. Just be sure to drill a pilot hole if you go this route. Attach a picture hanger on the back.
5. Lay the plywood down and rearrange the slices to your liking. Using wood glue, apply a nickel size amount of glue on the back of each slice and place it back down. The glue will not dry extremely quickly so you are still able to adjust them for spacing once all glued.
6. Let artwork sit for 1 to 2 hours to completely dry. You’re done!
Birch wood Christmas tree ornaments

Birch wood rounds provide multiple ways to adorn a Christmas tree with personal and colorful tree ornaments and create framed art, natural gift tags, a set of holiday drink coasters pr an advent calendar. Whatever the project, it can be done by anyone regardless of age or crafting experience.
Christmas Tree Ornament
1. Drill a ¼-inch hole near the edge of a wood slice.
2. Paint the slice however you would like.
3. Let dry and string a ribbon through the hole. Done!
4. You could also follow these steps and create a gift tag -- just write your “To: and From:” on it.
Oh what fun! Gift wrapping ideas

By adding creative touches to your packages and making them personalized, your gift recipients are sure to exclaim, “Oh what fun!”
Found objects
One method to create unique fun packages is to take a look around the house for small objects that may be useless, but interesting. Put them on a package and voila! We used buttons, an old red faucet, vintage Christmas cards, luggage tags, a child's stocking.
Oh, what fun! Gift wrapping ideas 2

Vintage Christmas tidbits
Bring back the nostalgia of past Christmases by digging in your old Christmas decoration boxes, searching on eBay, or shopping in a vintage/antique shop. They cost nearly nothing, but will be sure to get an extra smile. Bead garlands, vintage paper and ribbon.
Christmas branch

This sweet little Christmas branch with its dangling ornaments has a farmhouse theme. But it will have a whimsical touch in any setting.
Make our decorations — twig tree, gilded pine cone, paper heart, tree-in-ball and burlap ornaments, or use your own meaningful ornaments.
You'll need: Branches, twigs, twine, string and ribbon, paper (old books, sheet music, etc.) clear ornaments, burlap, mini bottle brush tree, glitter, gold leaf kit or metallic craft paint, white glue, eye hook.
Create a hanger for your branch with twine or ribbon. Tuck in a sprig of greenery.
Twig tree
1. Cut 14 twigs graduating in length from 2 1/2 to 7 inches (1/2 inch difference between each twig).
2. Cut length of string two arms length long.
3. Create loop for knot in the middle of the string; insert the largest twig. Double tie it tightly in place.
4. Create another loop; repeat with remaining twigs from largest to smallest, keeping knots onto to reduce twisting.
Paper heart
1. Cut paper: 2 strips 8-inches long, 2 strips 7 inches long and 2 strips 5 inches long, each 1 inch wide.
2. Cut 12-inch long piece of string or twine.
3. Fold twine in half. Place 5-inch paper strip on each side of twine, lining up ends. Add 7-inch strip to each side, then 8-inch strips. Paper strips should be even twine. Staple ends together in a crisscross shape, catching the twine.
4. Personalize it with glitter, if desired.
Tree in a ball: Use a dab of glue on mini bottle brush tree and insert into clear ornament. Wait a moment, then add fine glitter for a snowy effect.
Burlap ball: Attach burlap strips to ball ornament with glue, or use our pattern at www.Figandfrolic.com. Stamp any word on a ribbon and tie around center.
Gilded pine cone: Use leafing size to coat pine cone tips. Follow directions to apply gold leaf. Or use metallic craft paint instead. Screw a small eye hook into the top center. Add hanging string or ribbon.
Christmas-themed decorative stenciled pillows

Make your own Christmas-themed decorative stenciled pillows –by following these basic instructions:
1. Always make your finished pillow cover two inches smaller than the pillow form. Example: for a 20” pillow form, cut fabric into two 19” squares, allowing for a 1/2” seam allowance.
2. If you plan to stencil, do it before sewing the pillow. Use a paint that will be permanent on fabric to make sure they are washable. We used Chalk Paint by Annie Sloan, of course. Lightly swipe your paintbrush over the stencil to get faded look. Make sure stencil is centered. So easy!
3. Next sew the zipper, connecting two sides. Use an invisible zipper that is actually longer than your pillow. So easy to sew. Just follow directions, then cut off the extra tail of the zipper.
4. Make sure your zipper is open enough to get your hand through, then sew the remaining sides, right sides together. Clip the corners diagonally to reduce bulk. Turn right side out. Press.
Thanksgiving Mantel Magic

Get the look for Thanksgiving: We started with a stems of faux magnolia leaves, real tree branches and twigs, evergreen clippings, real pheasant feathers and bittersweet. Faux (you can use real) pumpkins are tucked into the arrangement, too. Decorative objects include tarnished silver pots and platters. The word “GIVE” has been stenciled on the blackboard. You can hand-letter the word or find and print a stencil from online sources.
A mantel is one of the easiest places to dress for the holidays. You can make a charming, seasonal statement for your Thanksgiving celebration, and with just a few switcheroos, transform it into a Christmas scene.
Don’t have a mantel? Make one – we did! This faux fireplace and mantel was constructed from a beautiful old door frame purchased at an auction. Boards, a porch railing and old fence create the structure and mantel itself. The bottom board is covered with a subtle wrapping paper that fits with either holiday.
A framed blackboard made from an old sofa-sized painting hangs above the mantel. These elements remain the same … it’s only the decorations that change to suit the season.
1. Decide on a theme and gather your objects and materials. Decide which will form the foundation of both Thanksgiving and Christmas motifs.
2. Layer for a lush look. Start with greenery or a garland and build from there, layer after layer, incorporating your favorite objects. Think three-dimensionally by jutting elements out or draping them away from the mantel.
3. Always have a focal point. Go whimsical, funky, vintage, sophisticated, natural, colorful – it’s up to you!
4. Look for balance, whether your design is symmetrical or asymmetrical. We think asymmetrical designs are more fun.
Christmas Mantel Magic

A mantel is one of the easiest places to dress for the holidays. You can make a charming, seasonal statement for your Thanksgiving celebration, and with just a few switcheroos, transform it into a Christmas scene.
Don’t have a mantel? Make one – we did! This faux fireplace and mantel was constructed from a beautiful old door frame purchased at an auction. Boards, a porch railing and old fence create the structure and mantel itself. The bottom board is covered with a subtle wrapping paper that fits with either holiday.
A framed blackboard made from an old sofa-sized painting hangs above the mantel. These elements remain the same … it’s only the decorations that change to suit the season.
1. Decide on a theme and gather your objects and materials. Decide which will form the foundation of both Thanksgiving and Christmas motifs.
2. Layer for a lush look. Start with greenery or a garland and build from there, layer after layer, incorporating your favorite objects. Think three-dimensionally by jutting elements out or draping them away from the mantel.
3. Always have a focal point. Go whimsical, funky, vintage, sophisticated, natural, colorful – it’s up to you!
4. Look for balance, whether your design is symmetrical or asymmetrical. We think asymmetrical designs are more fun.
For Christmas, remove bittersweet and pumpkins from the Thanksgiving arrangement. Replace with white twigs, more evergreens, pine cones, ornaments, etc. Change the blackboard to a Merry Christmas message and tack a trio of vintage Christmas stockings to the mantel. A red crepe paper rose at the corner completes the festive transformation.
Subscribe to our Daily Headlines newsletter.
October 19, 2020 at 01:15PM
https://wcfcourier.com/news/local/watch-now-flower-power-petersen-tietz-to-petal-it-forward-with-bouquets-on-wednesday/article_fe6e6c40-72dd-5bef-bf04-4b716cd68a44.html
WATCH NOW: Flower power: Petersen & Tietz to Petal It Forward with bouquets on Wednesday - Waterloo Cedar Falls Courier
https://news.google.com/search?q=Flower&hl=en-US&gl=US&ceid=US:en

No comments:
Post a Comment